Your Cart is Empty


This tutorial file contains 23 pages with 46 photos of the process of creation. All the process was organized into 28 steps which makes it super easy to follow. You'll find in this tutorial tips and tricks from Sky and Beyond, which will help you create your own beautiful and flowing designs.
I've received so many requests about the techniques I use, so I decided to share them with you.
I hope this tutorial can bring you the possibility to create your own inspirations, watch your creativity become reality...
Format PDF with instant download after check out. PLEASE NOTE - the .pdf file contains a security feature that prohibits printing or duplication. Please note that you will be purchasing x1 copy of the tutorial. Please convo us if you need a printable version.
This tutorial is good for all levels in wire wrapping.
For this project you'll need:
• INSPIRATION AND LOVE
• Plumbers Torch,
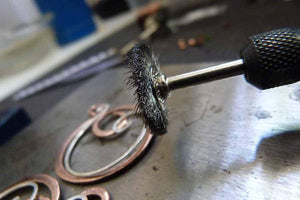
• Rotary tool with a sanding attachment and a polishing attachment,
• Round nose pliers,
• Flat tipped pliers,
• Tweezers (10cm – 15cm), metal and optional plastic,
• Wire cutters (for thick wire and thin wire),
• Mandrel (ring mandrel),
• Hammer and anvil,
• 18, 26, 28 gauge copper wire, 20 gauge fine silver wire,
• 2 silver beads (3 mm), 2 copper beads (2 mm),
• 2 flat turquoise stones (6-7 mm), or another kind of beads you’d like (round or flat),
• 2 ear hooks (in this project I used Niobium ear hooks, but you can use silver or copper, or make your own)
• Liver Sulfur,
• Fine grade steel wool.


